Here’s the situation. You find a snippet of Kotlin code somewhere on the Internet or in a book. You want to try it out. What is the quickest path to messing with the code? Here are some recipes for some options. I sorted them from the quickest no tools and no project all the way through to all the tools and all the projects. I’ll provide info on how to add a library as dependencies if possible in each of the solutions.
All of the options are free except the Intelij Enterprise IDE one.
Disclaimers:
- This is not a complete guide, it is opinionated and it is a snapshot of the current state of the tools. Things always change and your favourite may not be listed.
- I tested most of these on my Mac so the solutions are Mac-centric. If you want to try them on another OS, you may need to fiddle and research a bit more.
- I usually code for myself or for mobile so no serverside or web code or docker containers.

Quicklinks
Here is an overview with links so you can jump directly to what suits your needs
| Tools | No project | with project |
|---|---|---|
| Browser | Playground | Datalore |
| CLI | Compile and run REPL | Amper Gradle |
| Fleet | 👆 See CLI section | 👆 Amper Gradle |
| Intellij Community/Android Studio | Scratch file | Wizard |
| IDE Intellij Enterprise (not free) | Notebook | See Intellij Community section |
Browser
This recipe is for when you don’t have a computer where you can install things. Maybe you are on a tablet or you are in an internet cafe in an unknown place or borrowing your neighbours laptop. It is good for code snippets that use standard java or kotlin libraries and output text.
Playground
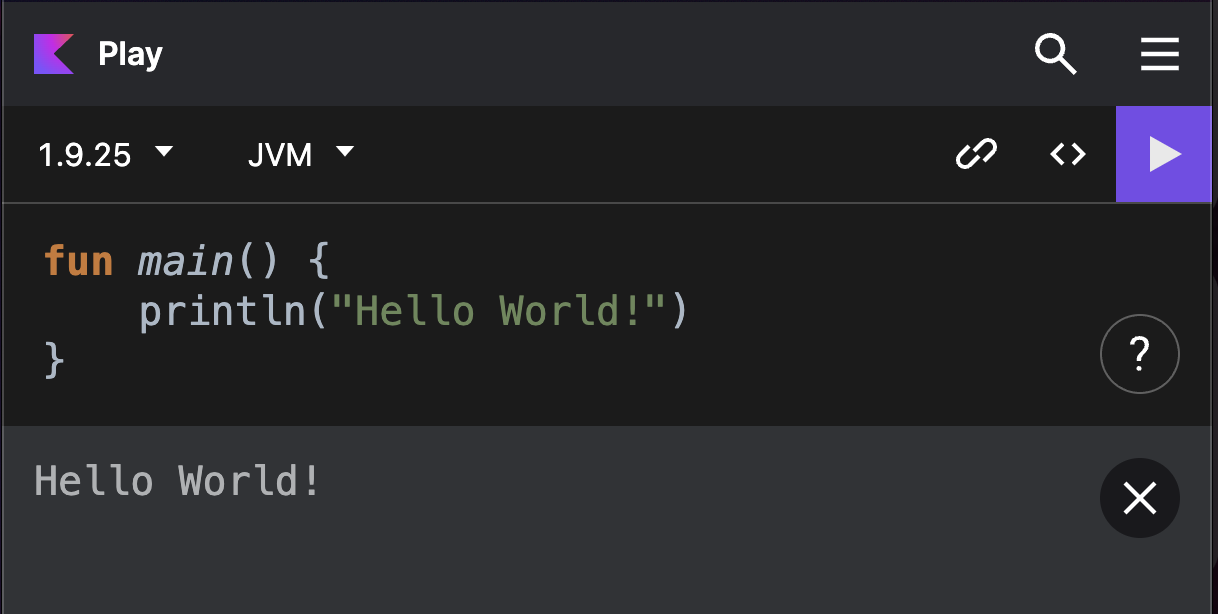
You need
- A browser
- A website that can run code e.g. Kotlin playground
Recipe
- open this website
- paste or type some code
- run
Ctrl + R
Adding dependencies
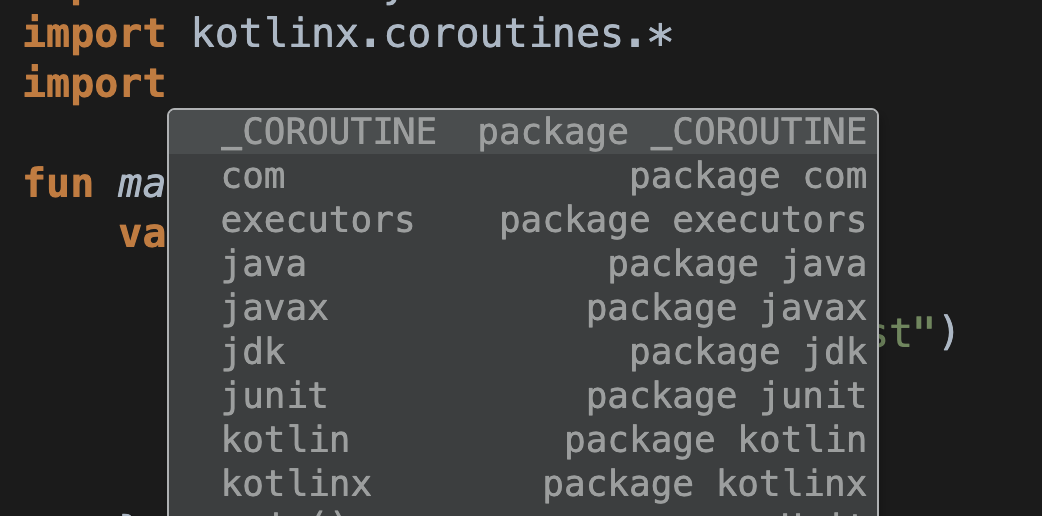
A good way to see what you can add is to autocomplete an import statement. You have access to kotlin, kotlinx, java and javax. If you want to add other libraries you need to run your own instance of the kotlin playground with the libraries you need or you need to find an instance where this is supported. Not really recommended. I would just use an Amper project if you need dependencies.
Datalore
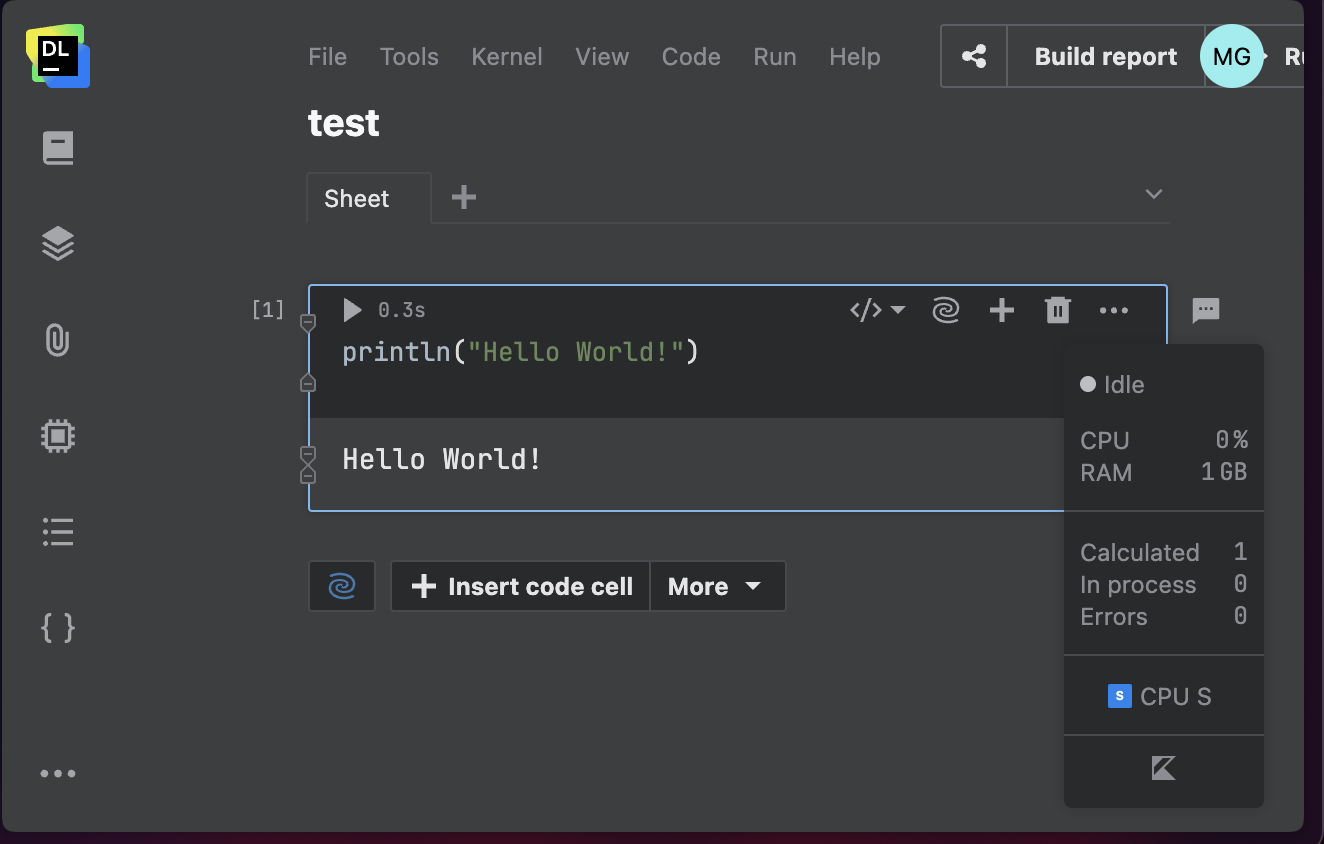
This solution is still Browser based. It is useful if you want to collect a few pieces of Kotlin code and you like a Notebook interface and the supported tools. There is a free tier of Datalore available.
You need
- A browser
- A Datalore login
Recipe
- open this website and log in
- Open a new kotlin notebook and paste or type some code in a code cell
- click the run button
Adding dependencies
The trick with the autocomplete on import works here too. You have access to kotlin, kotlinx, java and javax. You can also add some select libraries like kandy with the %use magic word.
CLI
This is for people who are happy to run things on the command line. It doesn’t matter where the code is created, it could be vim or an echo command. Read more at the official kotlin docs.
Compile and run
The bare bones approach but it becomes a pain if you want to use libraries other than the standard ones or you want to split your code in more than one file.

You need
Recipe
echo 'fun main() { println("Hello, World")}' > hello.ktkotlinc hello.kt -include-runtime -d hello.jar# compile the code and package it in a jar with a runtimejava -jar hello.jar# run the jar with java
Adding dependencies
You need to add dependencies on the command line, this may be a pain as you probably need the jars to include them. (not recommended)
REPL

REPL stands for read-eval-print-loop. It is an interactive environment to run code. If you have the kotlin compiler installed you can simply run kotlinc and you will be in the REPL. ^C to kill it and exit. Use only for very transient experiments.
Gradle
This recipe uses gradle to generate a template project. You can then add all the files and dependencies to the project.
You need
Recipe
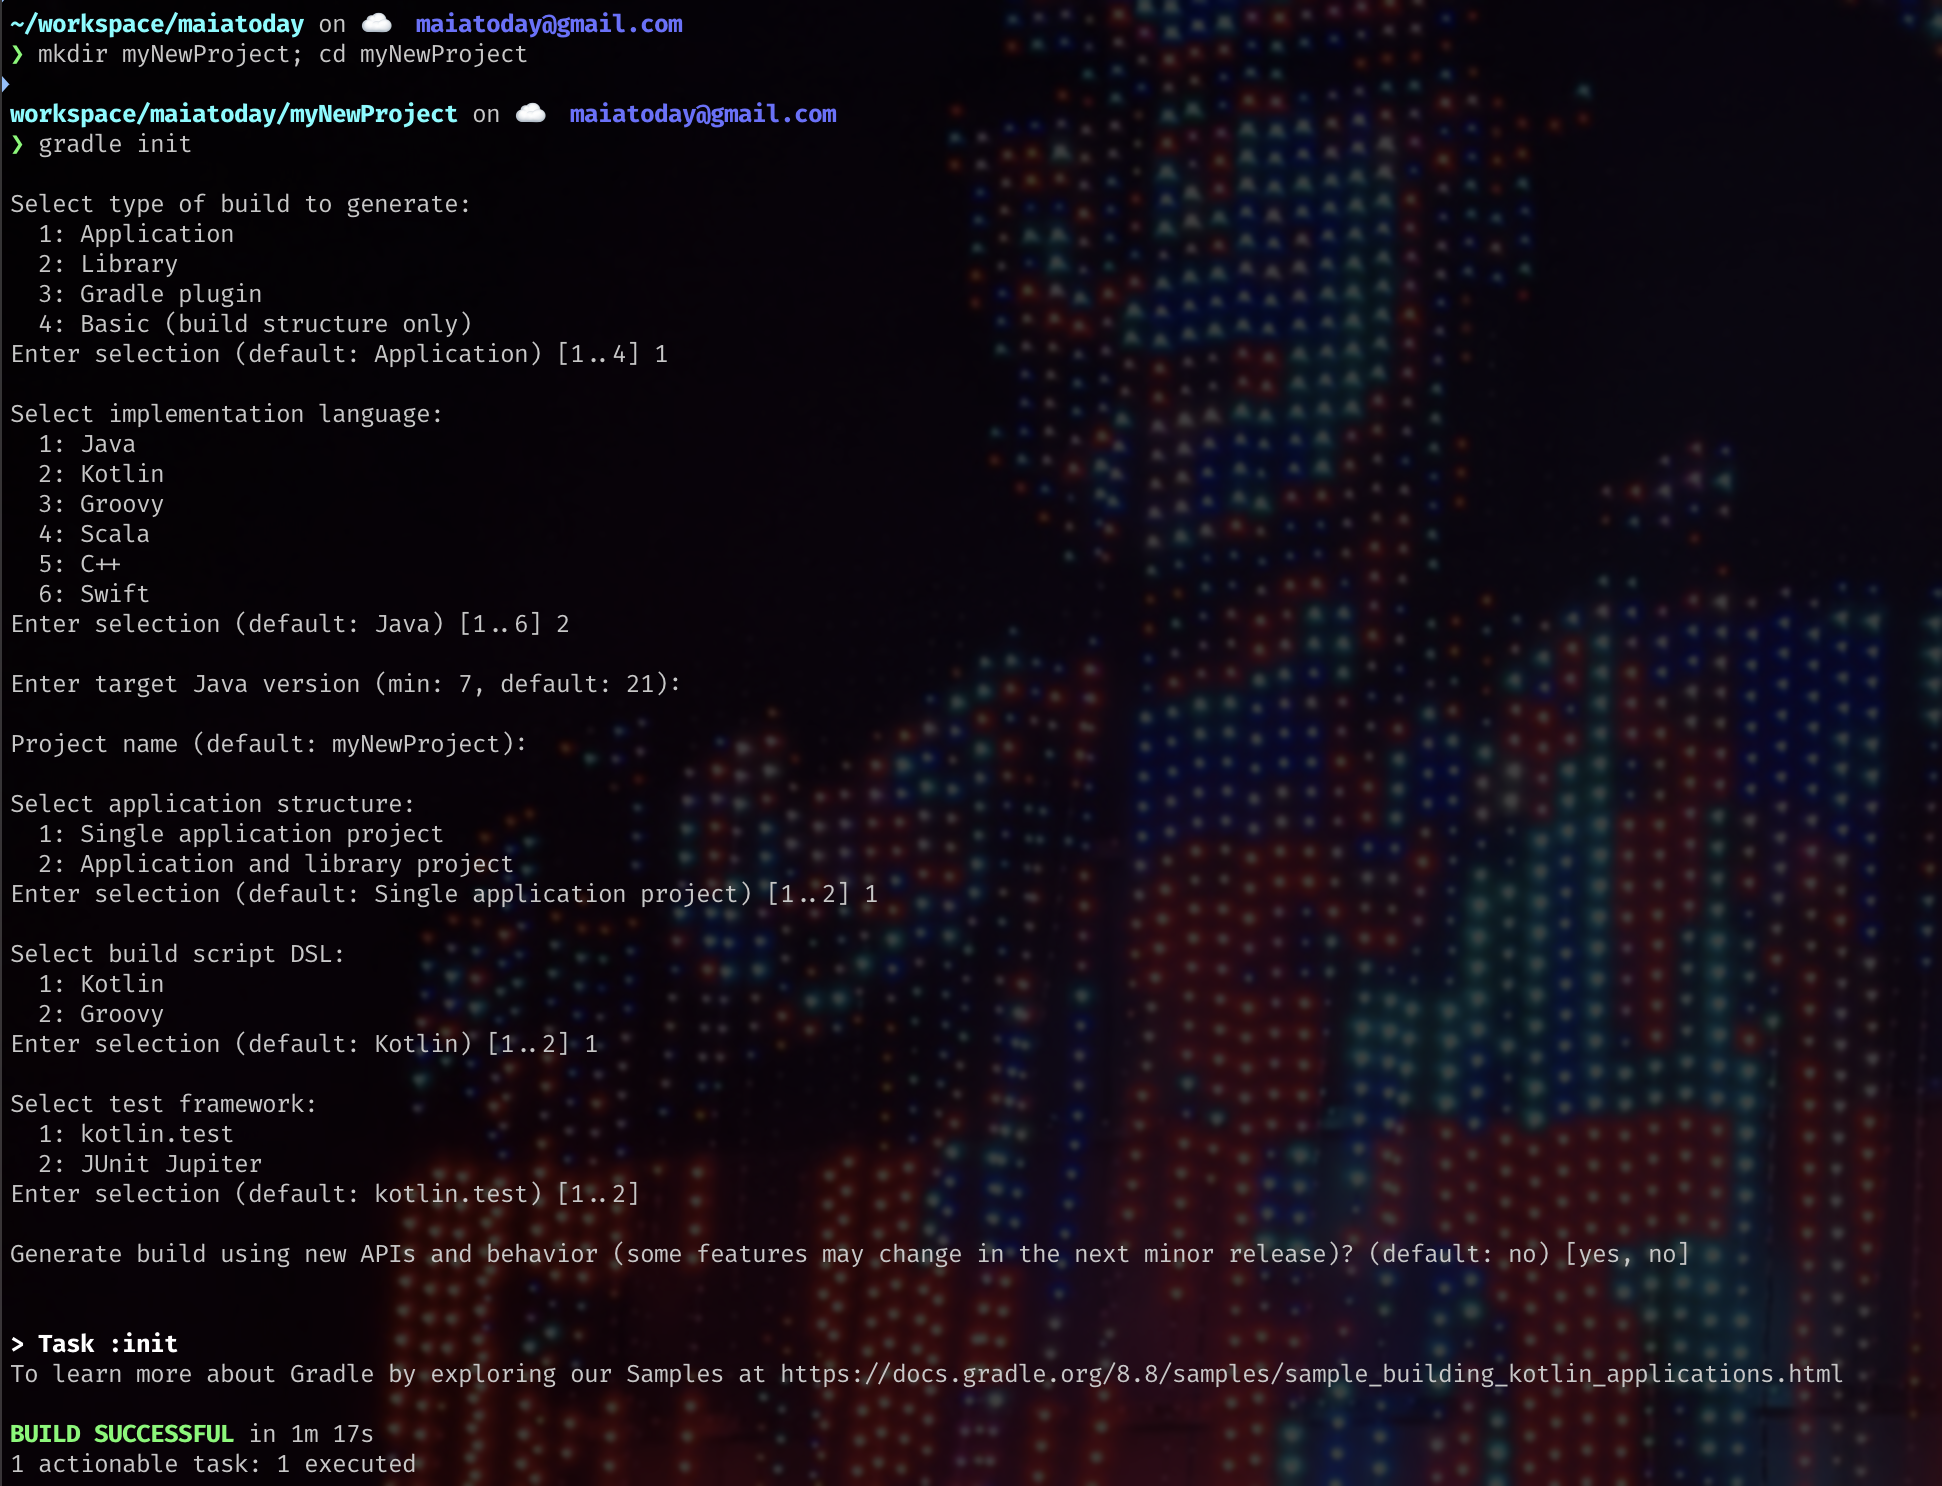
mkdir myNewProject; cd myNewProjectgradle init# follow the prompts choosing application and kotlin and mostly defaults. See the screenshot for my choices. Every thing should be setup with the files in theapp/srcfolder andgradlewscript in the root of the project./gradlew run# runs the project - on Mac/Linux or./gradlew testto run tests
Adding dependencies
You can add dependencies in the app/build.gradle.kts file in the dependencies section. You need to explicitly add a dependency for stdlib and kotlinx libraries
Amper
Same as the gradle solution but using Amper. It gives a simpler more streamlined project. It can use gradle under the hood.
You need
Recipe
mkdir myNewProject; cd myNewProject- Pull a version of the amper cli with this command. Note the version number may change if you read this in the future.
curl -fsSL -o amper "https://packages.jetbrains.team/maven/p/amper/amper/org/jetbrains/amper/cli/0.4.0/cli-0.4.0-wrapper?download=true" && chmod +x amper ./amper init jvm-cli# to create a fresh jvm command line project./amper run# to run the project
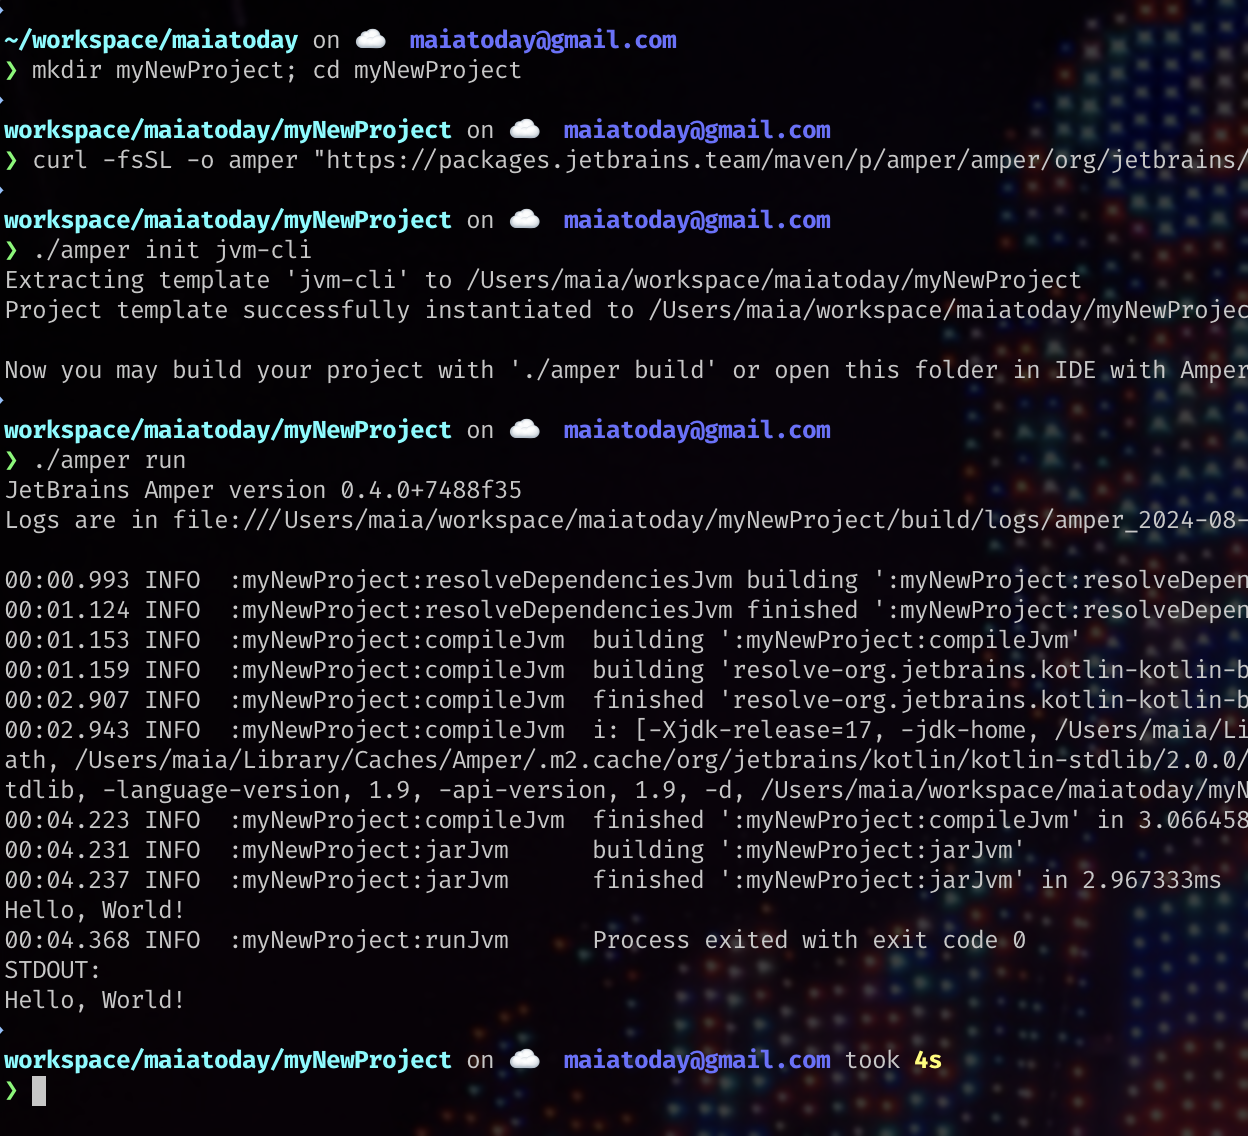
The source is in src directly. It is a much shallower project structure.
Adding dependencies
You can add dependencies in the module.yaml file in the dependencies section. The syntax is like this:
dependencies:
    - groupId:artifactId:version
You need to explicitly add a dependency but you have access to stdlib and kotlinx libraries.
IDE with a project or without
This solution is for when you have the luxury of a computer where you can install tools such as Intellij, Fleet or Android Studio. These tools will come with prepackaged JDKs and wizards to get you going. You can of course use these tools with the CLI projects you created. They do offer a way to run code without having a project.
Fleet
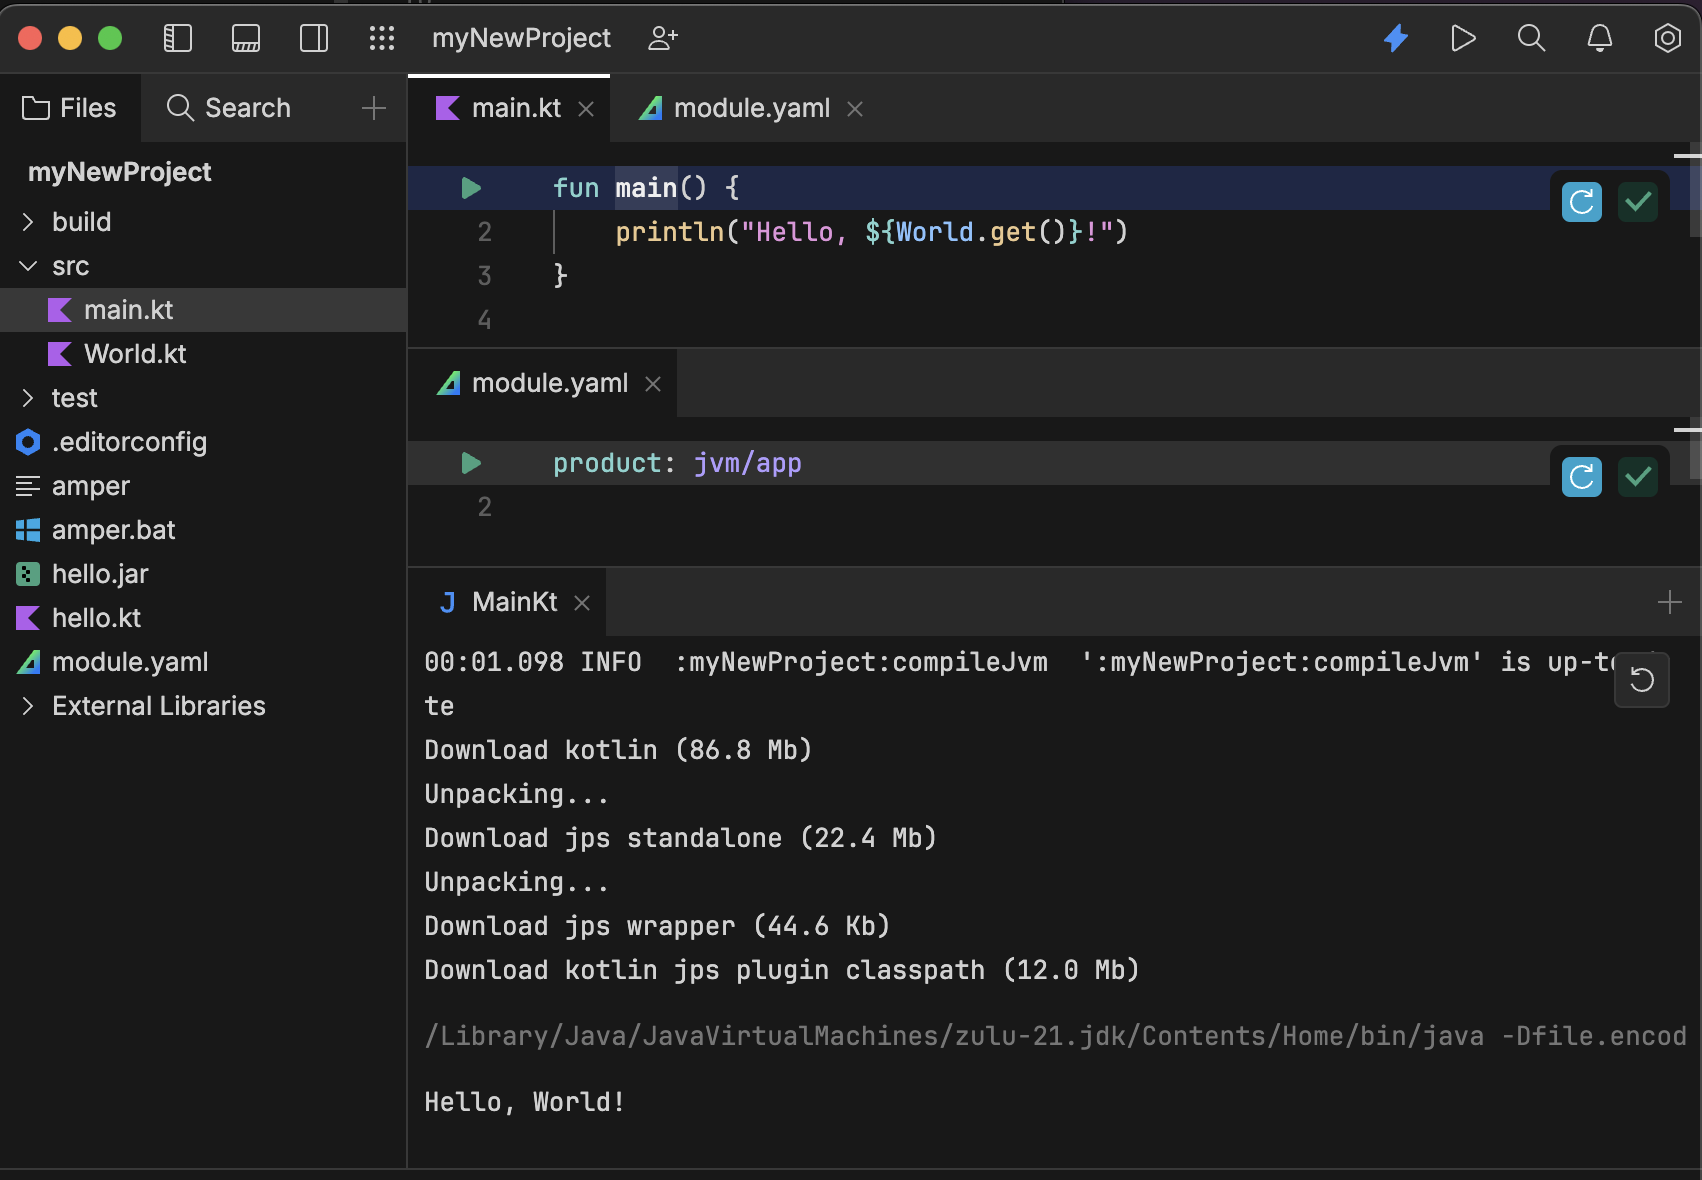
Fleet supports Amper and Gradle. Making new projects are still simplest with the command line instructions above. Then you can open the project in Fleet. The Fleet integration gives convenient run buttons in the gutter so you don’t need to any run configuration setup.
You need
- A project created on the CLI as in the previous step for Amper or Gradle
- A Fleet installation from Jetbrains Toolbox
Recipe
- Open the root folder of the project in Fleet
- Navigate to the
mainmethod and use the gutter icon to run
Adding dependencies
Add libraries in the same way as the CLI projects.
Scratch file
Scratch files are usefull for transient code. They live in a folder that is independent of the project that you are in and so can be seen from any project you open. They are only supported in Intellij and Android studio.
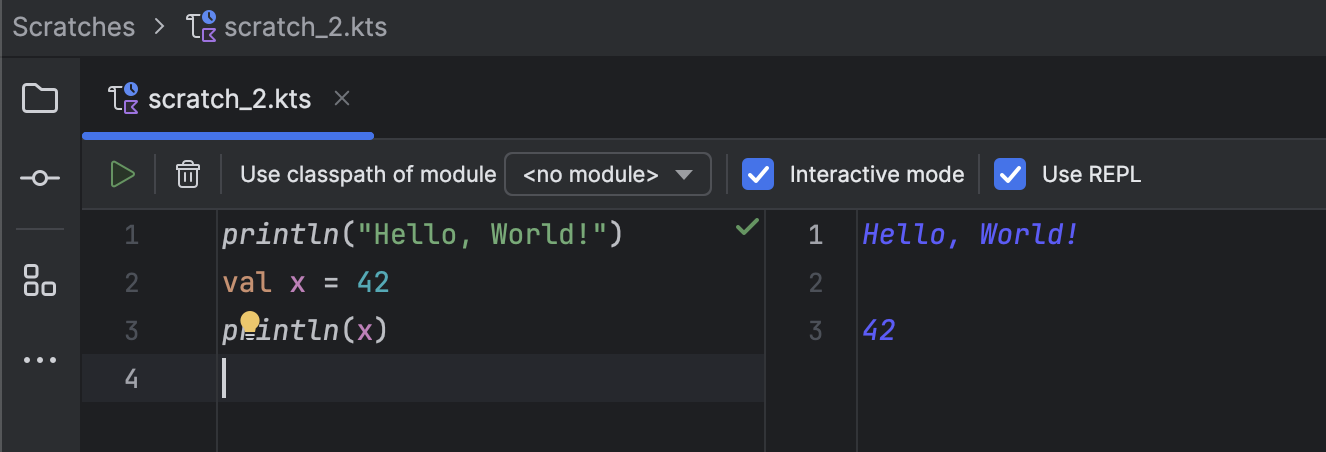
You need
- Intellij Community/Android Studio, I use the Jetbrains toolbox app
Recipe
- Open the IDE and open any project or create a new kotlin one, this will setup a project but we won’t use it.
- Press
Shift-Cmd-Nto open a new scratch file, choose Kotlin - Paste the code press
Ctrl + Ror the run button. See the screenshot.
Adding dependencies
It is possible to add dependencies but you need to add it to the module in the project and then update the run configuration of the scratch file. This is probably more useful if you have a project setup.
Intellij Enterprise and Notebook
Intellij Enterprise supports the Kotlin Notebook plugin. It is a similar experience as the Datalore experience. The useful thing about a Notebook in Intellij is that you can also access code you may have in the project.
You need
- Intellij Enterprise, I use the Jetbrains toolbox app
- The Kotlin Notebook plugin
Recipe
- Open the IDE and open any project or create a new kotlin one, this will setup a project but we won’t use it.
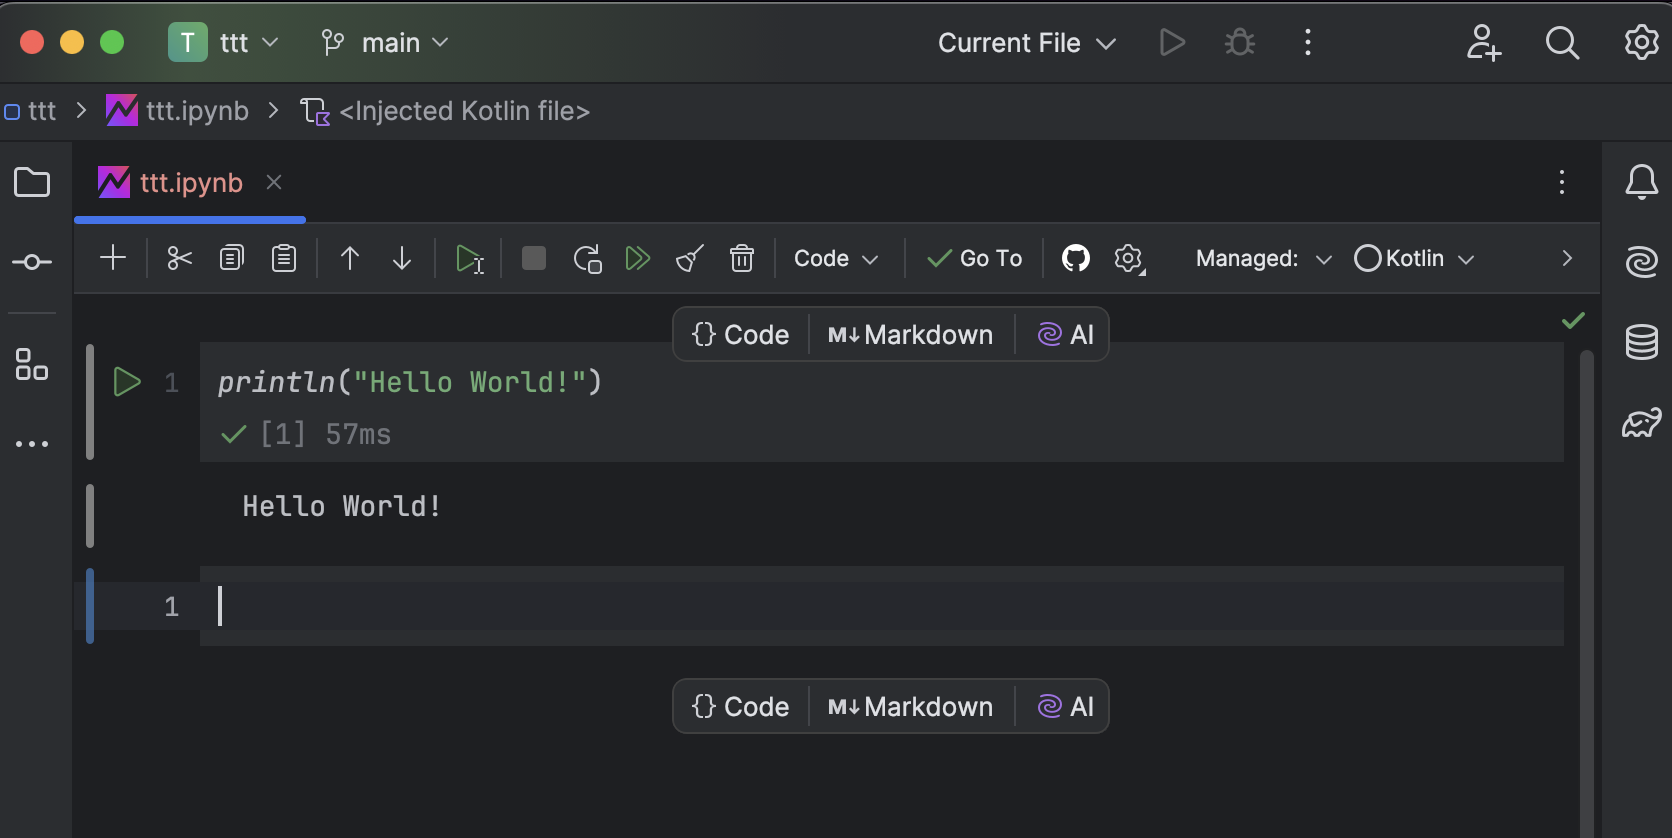
- Press
Cmd Shift Aand chooseKotlin Notebook - Paste the code in a new code cell
- press
Shift +Enteror the run button. See the screenshot.
Adding dependencies
You can add dependencies like this:
@file:DependsOn("groupId:artifactId:version")
You can use your own project files in the Notebook by adding the project files to the notebook.
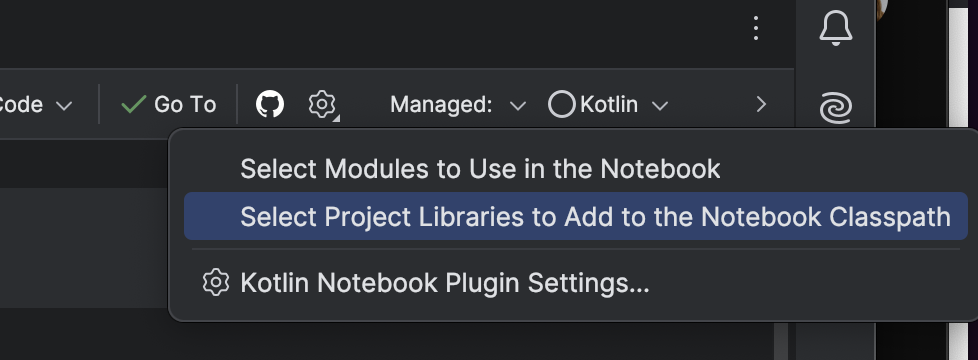
You can include some dependencies like kandy by using the %use magic keyword.
IDE all the way
This is the gui-est and most complete solution. Also the solution if you want to build a project that you want to work on. Of course you can use the CLI options but you can let the wizard create a template for you.
Wizard
The recipe is deceptively simple but I refer to the official docs for finer details. I suspect no-one reads this far anyway. The wizard makes a gradle project and but if you would like to use Amper you need a plugin.
You need
- Intellij /Android Studio, I use the Jetbrains toolbox app
Recipe
- Open the IDE and open any project or create a new kotlin one
- Code and run
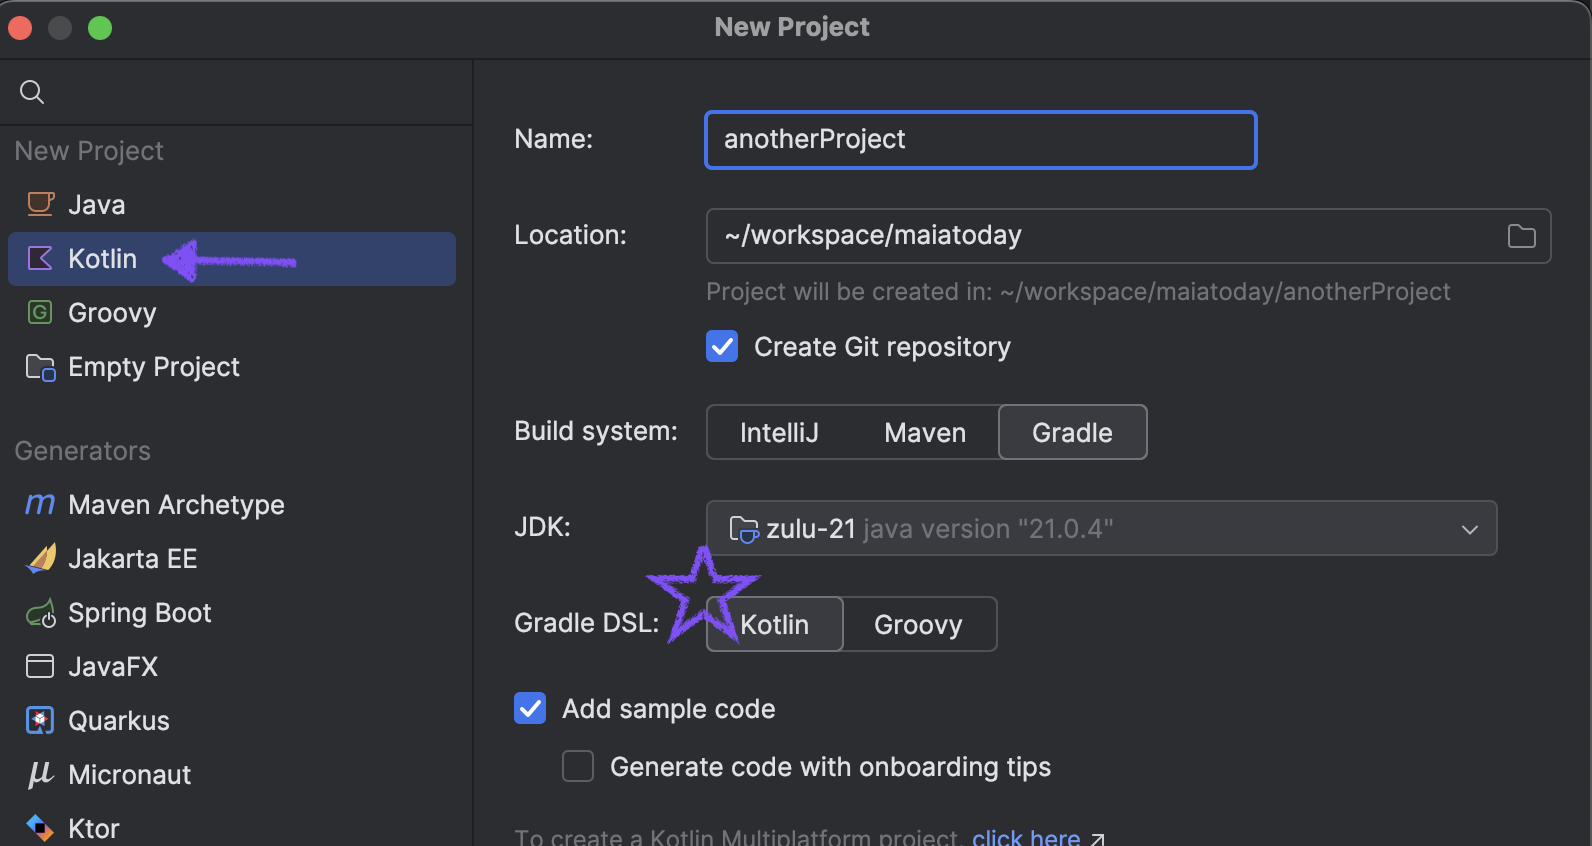
Dependencies work the same way as the CLI projects. There is also a project view to add them
What next?
Hmm I hear you say “But I want to draw pictures or graphs - no more ascii for me”
You’ll have to wait for another blog post for more on that. This one is far too long already.
In the meantime you have all these places to run your code. Now you can can go learn more Kotlin at these resources:
Official documentation
Books
Kotlin In Action, second edition
Atomic Kotlin with matching training in the IDE
